


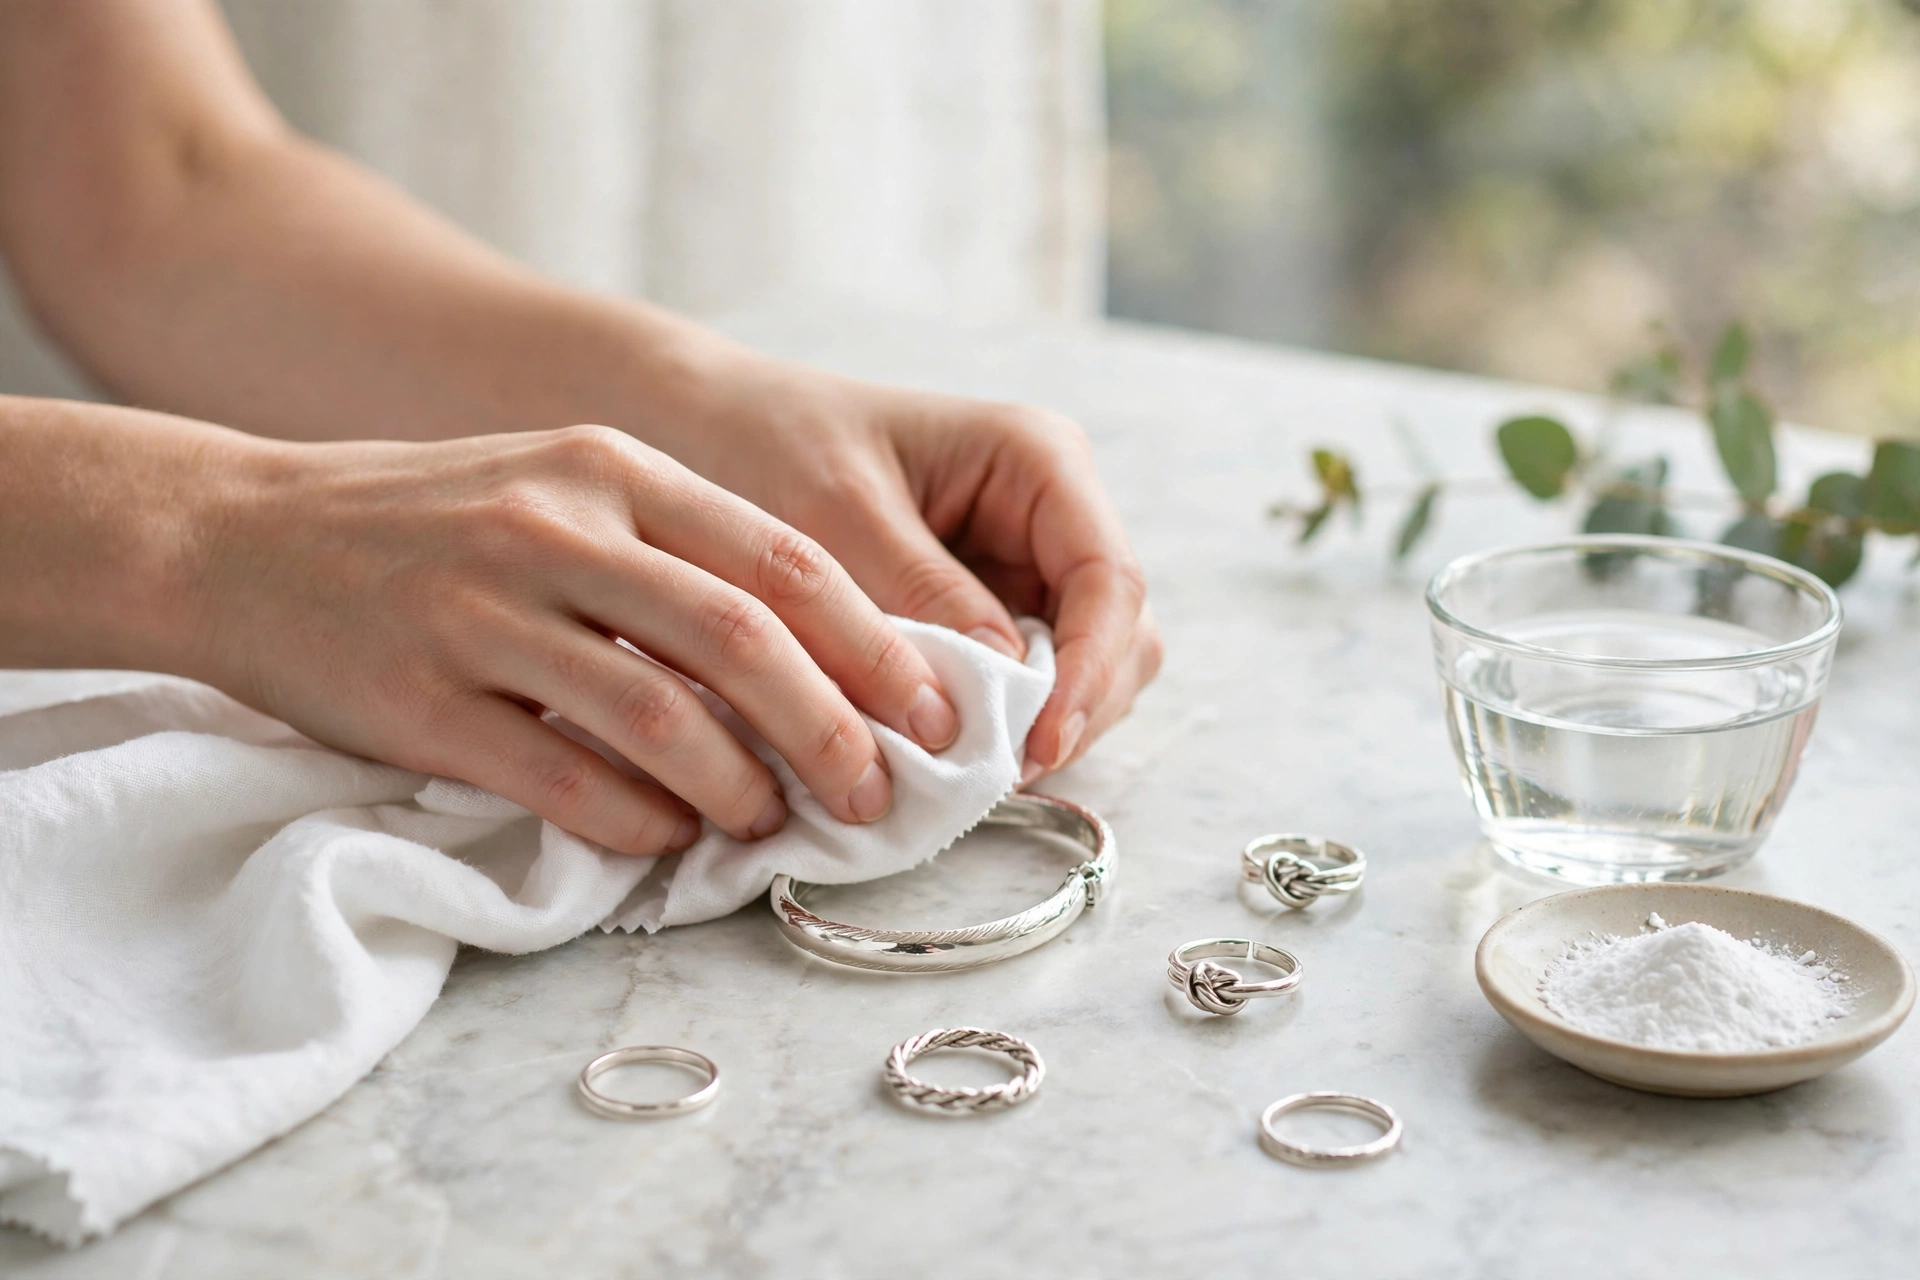
My grandmother had a silver bracelet she wore almost every day, and one she kept in a drawer for “special occasions.” Guess which one still looked bright after twenty years, and which one had turned a dull, smoky grey-black?
The drawer one. The one she was saving.
That confused me for years, because it feels backwards. Surely the piece you wear, sweat in, knock against door handles, and forget to take off in the shower should be the one that suffers? With silver, it is the opposite. Silver tarnishes fastest when it sits still, unworn, in the dark. The bracelet on her wrist stayed bright mostly because friction and daily movement kept polishing it without her ever thinking about it.
Once you understand that one odd fact, cleaning silver stops being mysterious. It is not fragile, it is not ruined when it darkens, and you almost certainly already own everything you need to clean silver jewelry at home.
First, What Tarnish Actually Is
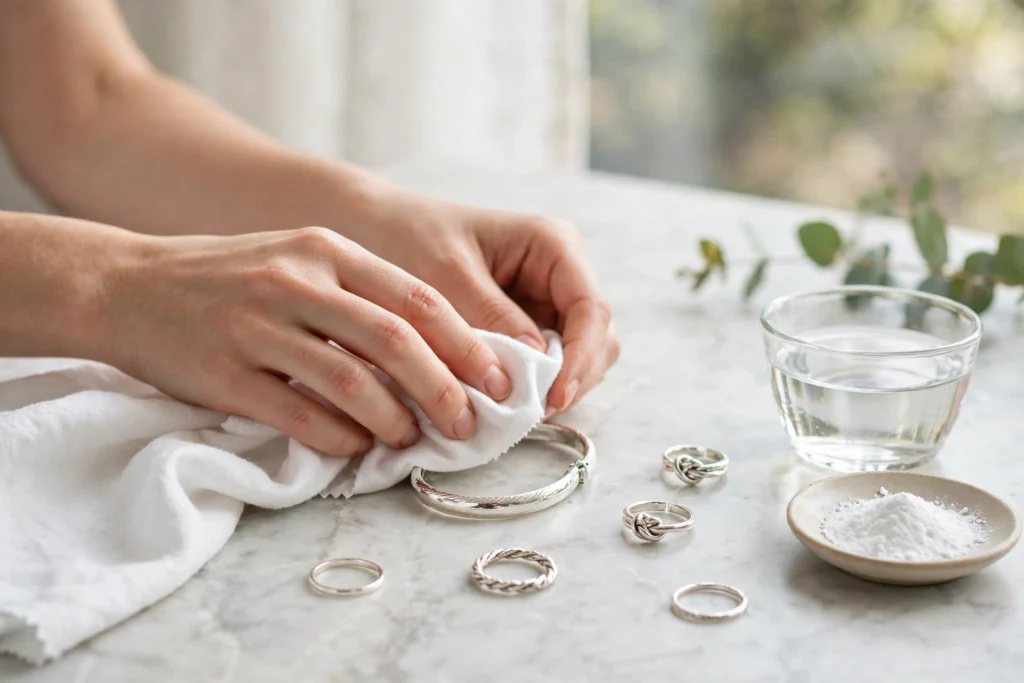
Tarnish is not dirt, and it is not damage. It is a chemical reaction.
Silver reacts with sulphur compounds in the air — tiny amounts, everywhere, from pollution, cooking gas, certain fabrics, even eggs — and forms a thin layer of silver sulphide on the surface. That layer starts as a faint yellow tint, deepens to brown, and eventually looks black.
Two things follow from this, and both are good news.
First, the silver underneath is fine. Tarnish sits on the surface. Removing it is not “repairing” your jewelry, it is just taking a film off it, the way you wipe a fogged mirror.
Second, anything that claims to fix tarnish by scrubbing it off with something harsh will work — once — while quietly wearing your jewelry away. The goal is to reverse the reaction or lift the film gently, not to sand your grandmother’s bracelet down to a thinner bracelet.
How to Clean Silver Jewelry With Soap and Warm Water (Start Here, Always)
For light tarnish and regular cleaning, this is enough about eighty percent of the time, and it is safe for almost everything, including most stones.
- Fill a small bowl with warm — not hot — water.
- Add two or three drops of mild washing-up liquid.
- Soak the piece for five to ten minutes.
- Lift it out and clean gently with the softest thing you own: a baby toothbrush, a soft makeup brush, or just your fingers. Work into the details where grime collects — around clasps, inside engraved patterns, between links.
- Rinse under clean warm water.
- Dry completely with a soft, lint-free cloth. Not a towel, not tissue — both leave fibres and can scratch. An old cotton t-shirt works beautifully.
That is it. Most “dirty” silver is not deeply tarnished at all. It is skin oil, lotion, perfume residue, and dust, and warm soapy water removes all of it. Try this method before you try anything stronger. Most people never need to go further.
Method 2: Baking Soda Paste (For Noticeable Tarnish)
When the piece has clearly darkened and soap alone leaves it looking grey, make a paste.
- Mix three parts baking soda to one part water until it has the consistency of toothpaste.
- Apply it with a soft cloth or your fingers — never a scouring pad, never a stiff brush.
- Rub gently, in straight lines rather than circles. Silver shows scratches more in circular patterns.
- You will see the cloth turn grey. That is the tarnish leaving. It is oddly satisfying.
- Rinse thoroughly and dry completely.
One warning that matters: do not use this paste on jewelry that is deliberately oxidised. Some silver pieces — a lot of antique-style, boho, and handmade work — have blackened details on purpose, put there by the maker to make the pattern stand out. Scrub those and you will scrub the design itself away. If the dark parts look intentional and sit in the grooves while the raised parts shine, leave them alone, or clean that piece with Method 1 only. If you want to see how an intentional dark finish is meant to look, read our guide to black stone jewelry.
Also skip the paste for soft or porous stones set in silver — pearls, opals, turquoise, amber, coral. Clean around them with soap and water instead, or take those pieces to a jeweler. It is not worth learning why the hard way.
Method 3: The Foil and Baking Soda Method (For Heavy Tarnish)
This one feels like a school science experiment, because it is one. It reverses the tarnish reaction itself instead of rubbing the tarnish off, which makes it the kindest option for detailed, filigree, or delicate pieces you should not be scrubbing at all.
- Line a bowl with aluminium foil, shiny side up.
- Place your silver jewelry in the bowl, touching the foil.
- Sprinkle over two tablespoons of baking soda and a tablespoon of salt.
- Pour in enough hot water to cover the pieces. It will fizz lightly. That is supposed to happen.
- Leave for five to ten minutes. The tarnish transfers from the silver to the foil — the foil may darken, and there may be a faint smell of sulphur. Both are signs it is working.
- Remove, rinse well, and dry completely with a soft cloth, then buff gently.
Because nothing is being rubbed away, this method is often the best choice for chains, engraved pieces, and anything with fine detail. Do not use it on pieces with glued-in stones, pearls, opals, or deliberate oxidised finishes — the hot water and reaction can loosen glue and strip intentional blackening. For plain silver, though, it is close to magic, and it takes ten mostly-hands-off minutes.
What Not to Do (Please)
The internet is full of silver cleaning advice, and some of it is quietly destructive. The greatest hits:
Toothpaste. The old classic. Toothpaste is an abrasive — that is literally how it works on teeth. On silver it leaves a field of tiny scratches that makes the surface dull faster next time, because a scratched surface tarnishes more easily. It works once and charges you for it forever.
Bleach and harsh chemicals. Can permanently discolour silver and destroy stones and finishes. Never.
Boiling plain silver directly in a metal pan. Uneven heat and knocking against the pan can damage pieces, and it does nothing the foil method does not do more safely.
Ultrasonic cleaners on everything. Fine for hardy, plain pieces and hard stones. Risky for pearls, opals, emeralds, glued settings, and anything already loose in its setting. If a stone wiggles at all, keep it out.
Silver dip solutions, used carelessly. Commercial dips are fast, but they are aggressive. They can leave silver looking unnaturally white and flat, they strip oxidised detail instantly, and repeated use damages the surface. A dip is a last resort for plain, heavily tarnished pieces — not a routine.
How to Stop It Tarnishing Again (The Part Everyone Skips)
Cleaning silver takes ten minutes. Preventing tarnish takes ten seconds, and it is the difference between cleaning a piece twice a year and cleaning it every month.
Wear it. Seriously — the lesson of my grandmother’s bright bracelet. Regular wear is regular gentle polishing. The silver sitting in a drawer is the silver turning black.
Store it dry, sealed, and separate. Air and humidity are the enemy. Keep pieces in small sealed zip bags or an airtight box, ideally with an anti-tarnish strip (they are cheap and last about six months). Keep pieces separate from each other — silver scratches silver, and chains tangle into knots that take longer to undo than the cleaning did.
Keep it away from the worst offenders. Rubber bands, certain foams, cardboard, wool, and latex all release sulphur compounds and speed tarnish dramatically. That drawer lining might be the culprit. Perfume, hairspray, and lotion should go on before the jewelry, not after — let them dry first. Jewellers repeat one rule so often it has become a saying: jewelry is the last thing you put on and the first thing you take off.
Take it off for swimming and cleaning. Chlorine in pools and chemicals in household cleaners are both bad for silver, and hot tubs are the worst of all. Showers are less serious, but soap residue builds up and dulls the shine, so taking it off is still the better habit.
Give it a quick wipe after wearing. Ten seconds with a soft cloth before putting a piece away removes the skin oils and moisture that feed tarnish overnight. This single habit does more than any product you can buy.
When to Take It to a Jeweler Instead
Home cleaning has honest limits. Go to a professional if:
- A stone is loose, a clasp is weak, or a link looks stretched or cracked — cleaning will not fix structure, and soaking a damaged piece can make it worse
- The piece is a valuable antique, or genuinely old Whitby jet, pearl, or opal work
- The tarnish is in deep, detailed areas and home methods have not shifted it after two honest attempts
- The piece has a special finish — matte, brushed, or high-end designer oxidisation — that you do not want to risk changing
A professional clean and polish is usually inexpensive, and for a piece that actually matters to you, it is money well spent once in a while. And if cleaning a piece makes you realise you would rather sell it than wear it, read our guide on how to sell jewelry without getting ripped off before you take it anywhere.
The Drawer Is the Problem
Almost every piece of “ruined” silver I have ever been shown was not ruined. It was stored, forgotten, and quietly reacting with the air while its owner assumed the damage was permanent and felt a bit guilty about it.
It is not permanent. Warm water, a little baking soda, a square of kitchen foil — that is the whole rescue kit. Bring the piece back, then do the one thing that actually keeps it bright.
Wear it. Silver was made to be worn, not saved. My grandmother’s everyday bracelet understood that long before I did.